


From Night to Day • Gradual Colour Changes Using Python's `turtle`
It starts in the dark when you can only see a silhouette. But as night becomes day, the colours start to appear.

You can change the colour of an object when you're using Python's turtle module by calling .color(). But, how can you make a colour change gradually instead of suddenly? Here's an example of a scene that starts at night time and gradually changes as you move to daytime:
Let's see how we can achieve this effect using Python's turtle module.
This tutorial has several stages. The material gets harder and uses more Python tools in the later stages. You can stop at any stage you prefer, and if the first stages are too easy, you can read through them quickly and move on to the later Stages.
There's also a companion article How I Teach "From Night to Day • Gradual Colour Changes Using Python's turtle". This is a useful resource for anyone considering using this project in a teaching environment.
Note: If you're using a web-based coding platform instead of a local version of Python, make sure you're using one with a standard version of Python and
turtle. The "Python With Turtle" option on Replit.com is a good option. Some other web-based platforms are limited and you won't be able to run this tutorial properly on those platforms.
There are courses for teenagers and preteens who are keen to learn proper coding at Codetoday Unlimited
Stage 1
How To Change Colours Gradually
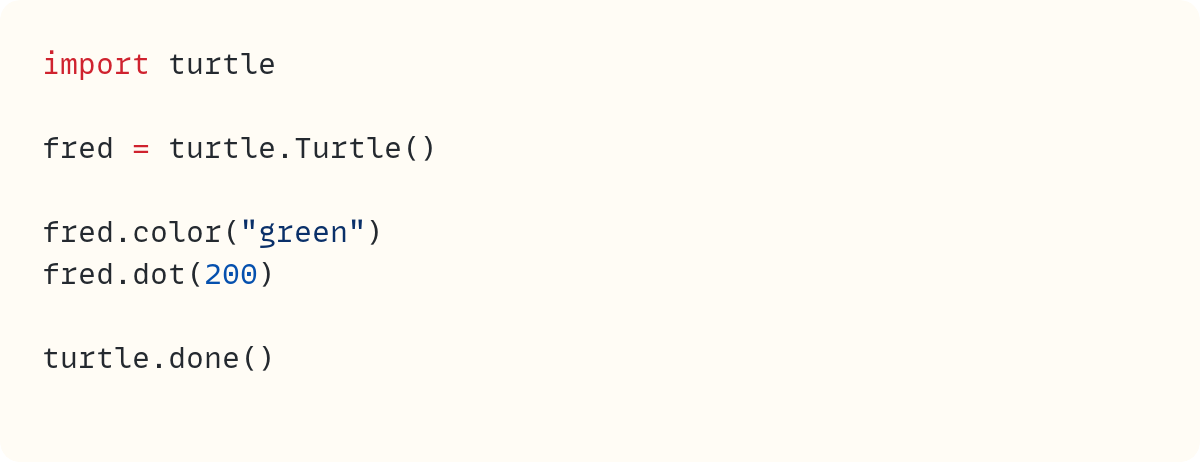
Let's start by using a dot in this first example. Create a Turtle object that draws a green dot. Remember to assign the Turtle object to a name, and you shouldn't use a single letter to name your Turtle, either. It makes code a lot harder to read:
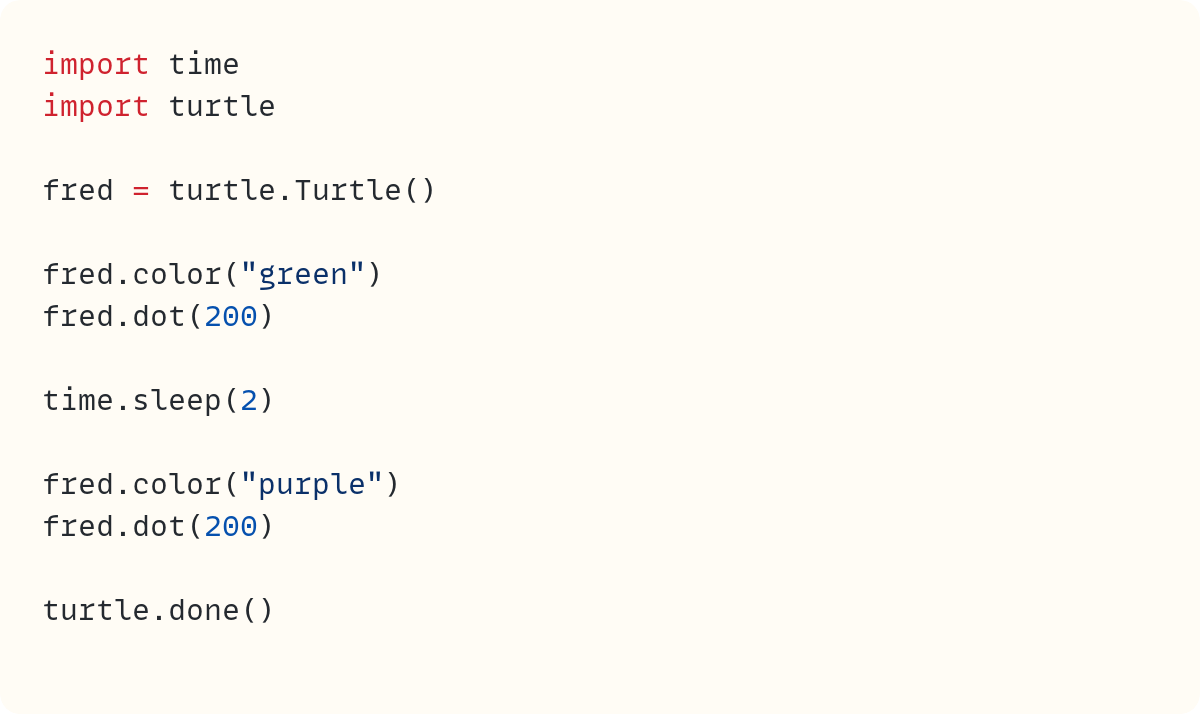
Next, let's wait two seconds and change the colour to something else:
Here's the animation so far:
Using Red, Green, and Blue Values for Colours
You can use the names of colours as arguments in .color(). However, you can also use a colour's red, green, and blue values. Every colour displayed on your screen is a combination of some red, some green, and some blue.
You'll often see colours described by three numbers. The most common format is using a set of three numbers between 0 and 255 for each of the red, green, and blue components. For example, white is (255, 255, 255) because it has the maximum value for each colour. We call there RGB colours.
You'll also often see these values displayed in base 16 instead of base 10. These are called hexadecimal numbers and 255 is represented as FF in this base. Therefore white can be shown as #FFFFFF, which is three sets of FF.
There's another way we can represent the red, green, and blue values of any colour. You can use numbers between 0 and 1. So (1, 1, 1) is white, (0, 0, 0) is black, and so on. The turtle module uses this format by default and this format is also the one best suited for our project.
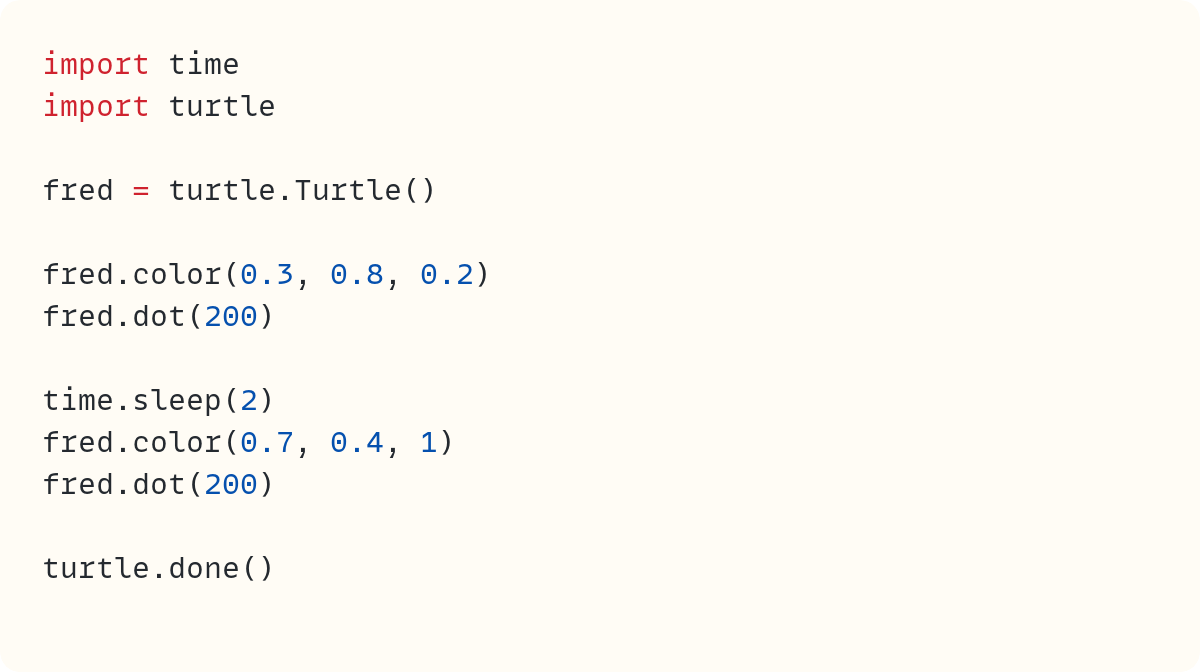
Let's convert the colours in our program from strings to red, green, and blue values. You could use (0, 1, 0) for pure green, but I'm using a different shade in this example. You can experiment with the amounts of red, green, and blue to find your favourite colours:
Note for those coding on web platforms. Some web platforms, such as Trinket, use a modified version of Python and the
turtlemodule may use the 255 mode by default. You can swap the version we need in this tutorial usingturtle.colormode(1).
Gradually Changing Colour
Using numbers to represent colours has several advantages. One of these advantages is that we can break down the difference between them into as many steps as needed. For example, you can go from 0 to 12 in steps of size 4: 0..4..8..12. You only need three steps to get there. Or, you can increase in steps of size 3: 0..3..6..9..12. This time, it took four steps to get from 0 to 12.
But you can break down this gap into any number of steps. Let's say you'd like 30 steps. Then, you can divide 12 by 30, which gives 0.4. Therefore, you can start from 0 and add 0.4 each time. You'll reach 12 in 30 steps:
    0
 1  0.4
 2  0.8
 3  1.2
 4  1.6
 5  2.0
 6  2.4
 7  2.8
 8  3.2
 9  3.6
10  4.0
11  4.4
12  4.8
13  5.2
14  5.6
15  6.0
16  6.4
17  6.8
18  7.2
19  7.6
20  8.0
21  8.4
22  8.8
23  9.2
24  9.6
25 10.0
26 10.4
27 10.8
28 11.2
29 11.6
30 12.0
But what if you want to start from 3 and reach 12 in 30 steps? Then, you can split the difference between 12 and 3 into 30 steps. So, 12 - 3 is 9 and 9 / 30 is 0.3. You can start from 3 and add 0.3 at every step to reach 12 in 30 steps:
3
1 3.3
2 3.6
3 3.9
4 4.2
5 4.5
6 4.8
7 5.1
8 5.4
9 5.7
10 6.0
11 6.3
12 6.6
13 6.9
14 7.2
15 7.5
16 7.8
17 8.1
18 8.4
19 8.7
20 9.0
21 9.3
22 9.6
23 9.9
24 10.2
25 10.5
26 10.8
27 11.1
28 11.4
29 11.7
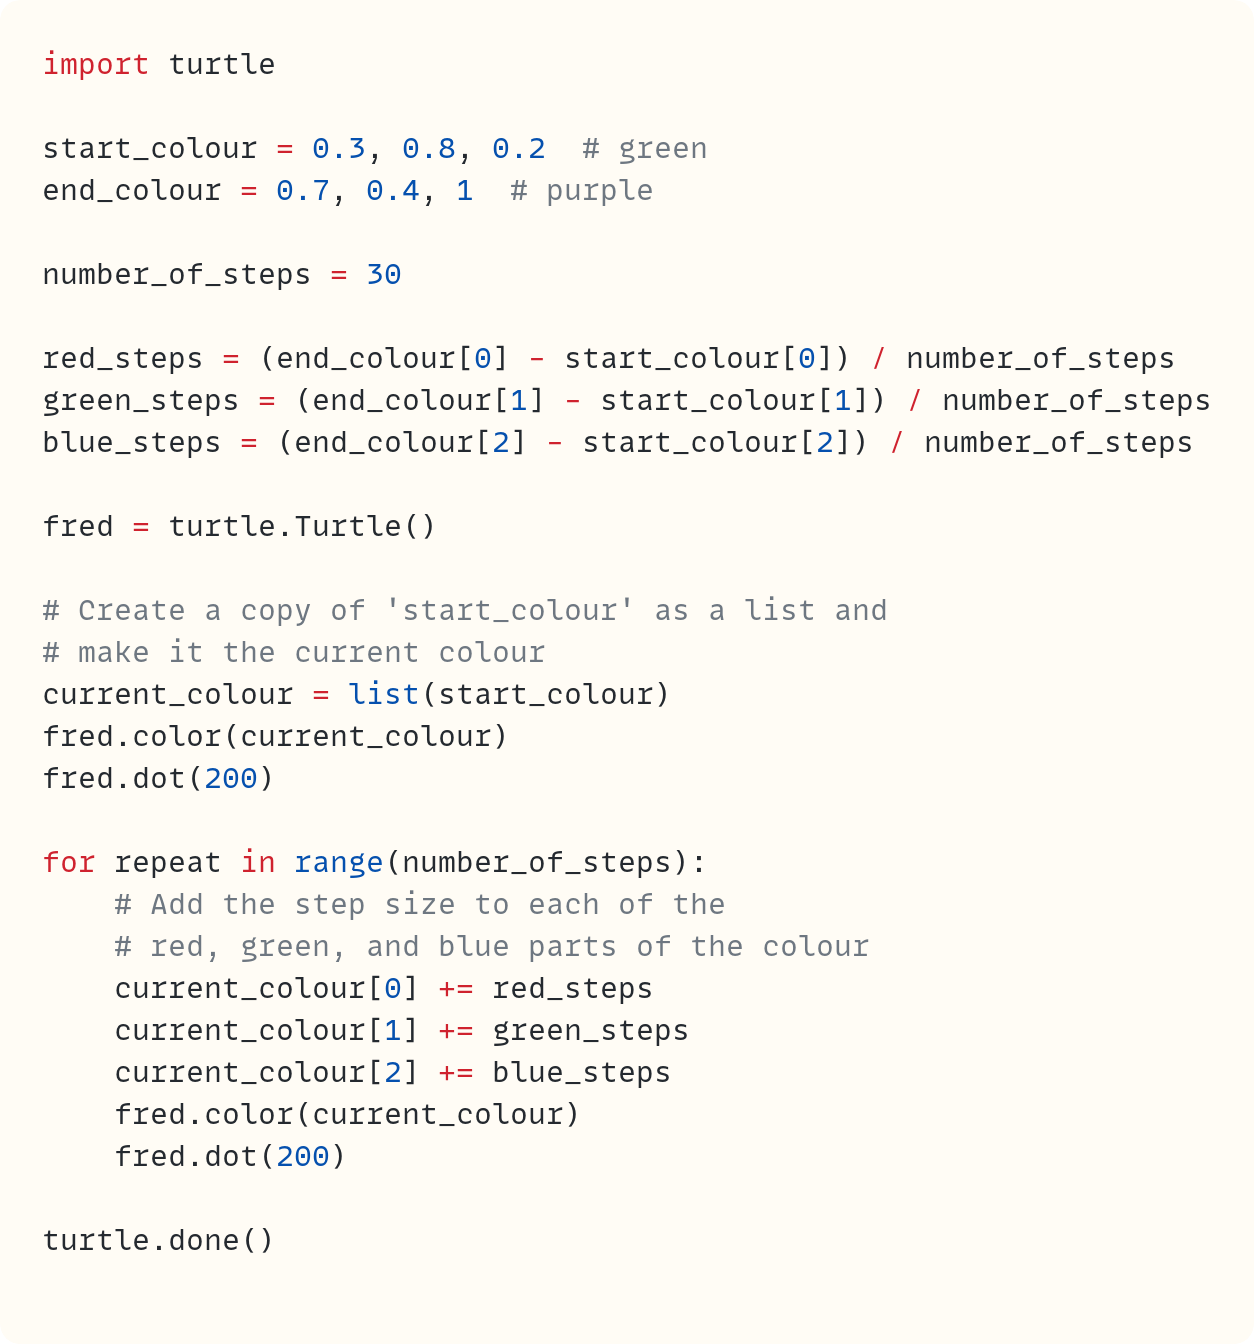
30 12.0You can do the same with the colours. However, each colour has three numbers, the values for red, green, and blue. So, you have to find the step size for each colour separately:
Here's the animation:
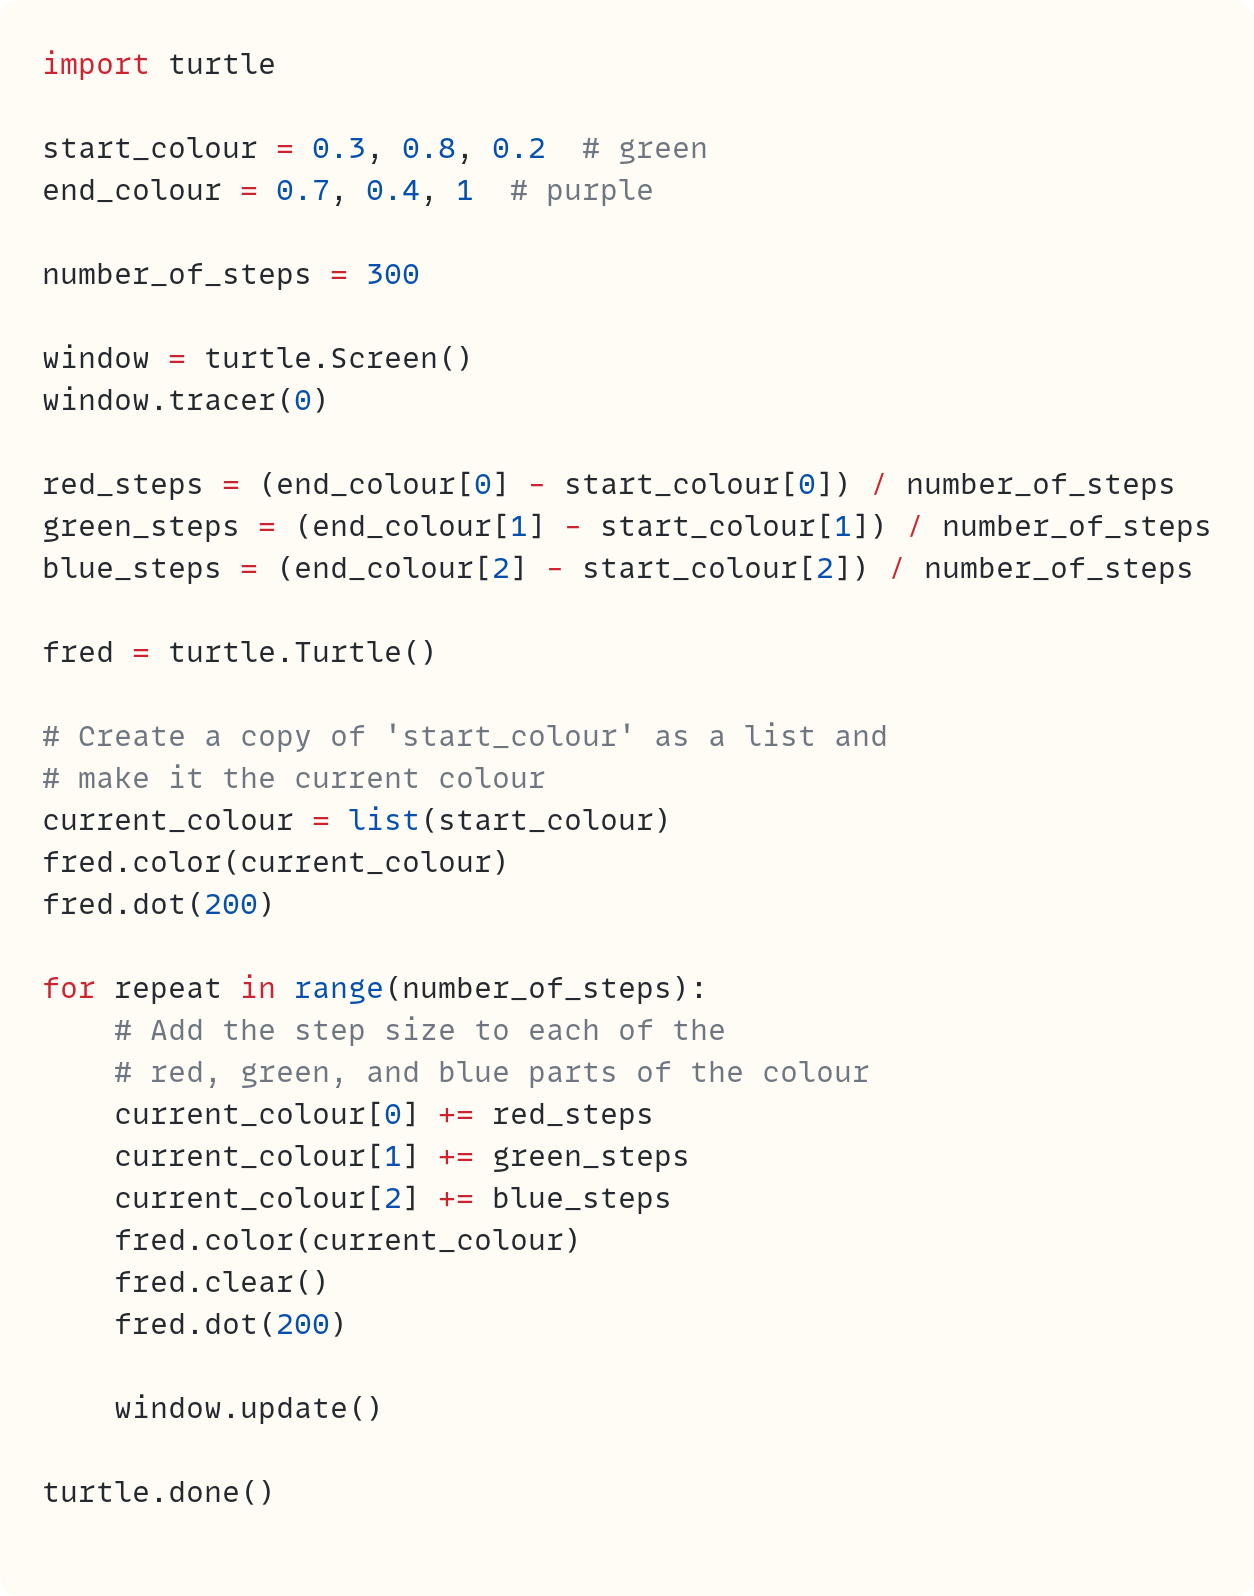
You create start_colour and end_colour. These are tuples, but you can use lists if you prefer by putting square brackets around each group of three numbers.
And you can fetch the first value by using the index 0, for example start_colour[0] gives you 0.3, the red part of the starting colour.
The calculation to work out the step sizes for each colour are the same as in the previous section. Let's look at the calculation for the step sizes needed for the red colour again:

You extract the red part of the end colour and the start colour by using [0] and find the difference between the numbers. Next, you divide this by the number of steps you want in your animation. This number of steps is the number of intermediate colours you get between the start and end colours.
Stage 2
Controlling The Animation
Whenever you need more control on your animation, you need to stop the turtle module from displaying every change it makes. You can do this by creating a screen object and setting the tracer() to 0. Then, you can call update() whenever you want to update the display with all the latest changes:
There are four changes in this version:
You add the screen and call it
window, and setwindow.tracer(0)You add
window.update()in theforloop to refresh the display at each stepYou add
fred.clear()to clear the old dot before drawing the old dot. This makes the animation more efficient.You change the number of steps in the animation to 300 instead of 30, since the animation runs much faster now that you have set
window.tracer(0)
You can control the speed of the animation by changing the number of steps. The animation slows down if you add more steps. Try 3000 steps! Note that the speed of the animation may be different on different computers. So, you can choose the number that works best for you.
You could control the timing of the animation by setting the frame rate, but I won't be covering this in this article.
Stage 3
Drawing The Tree, Trunk, and Sky
Let's apply these techniques to a drawing of the sky and a tree with its leaves and trunk. There are three parts to this drawing: the sky, the green part of the tree, and the brown trunk. They all have different start and end colours:
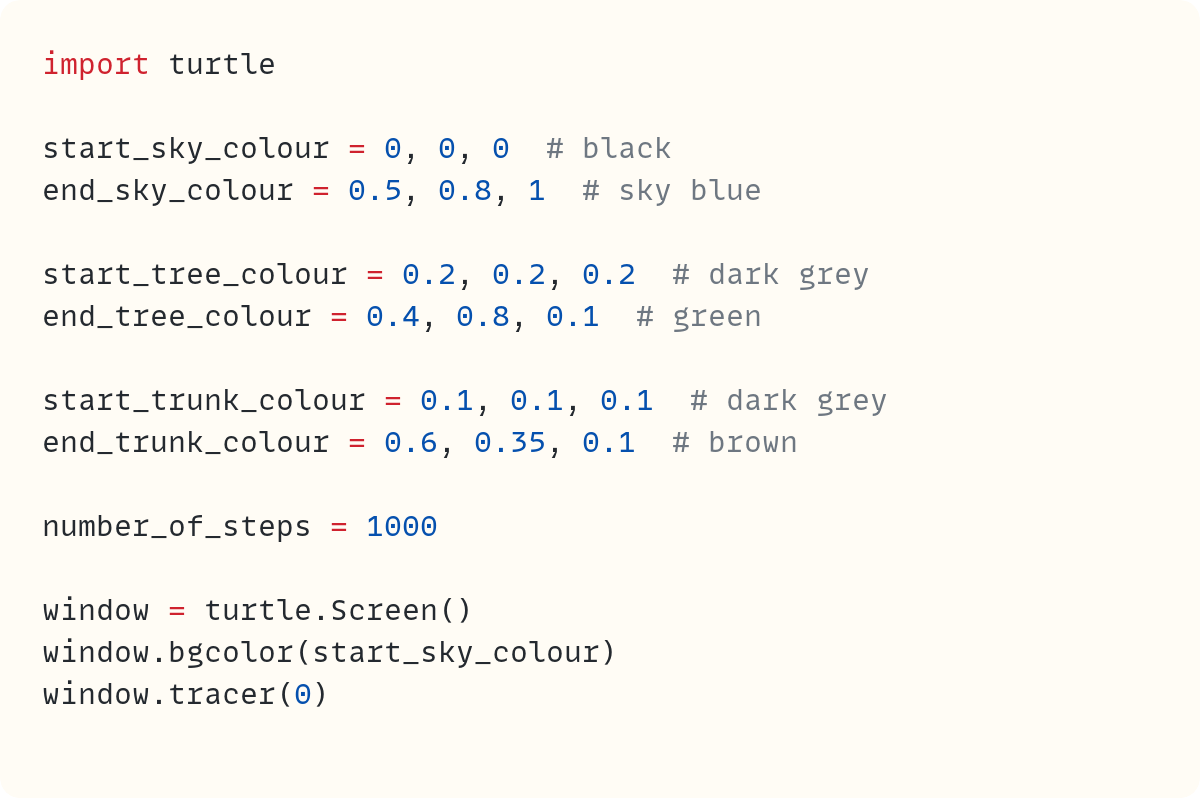
You also set the number of steps and create the screen. The starting colours are either black or dark grey since the animation will start at night time.
You also replicate the calculations to work out the red, green, and blue steps needed for each colour:
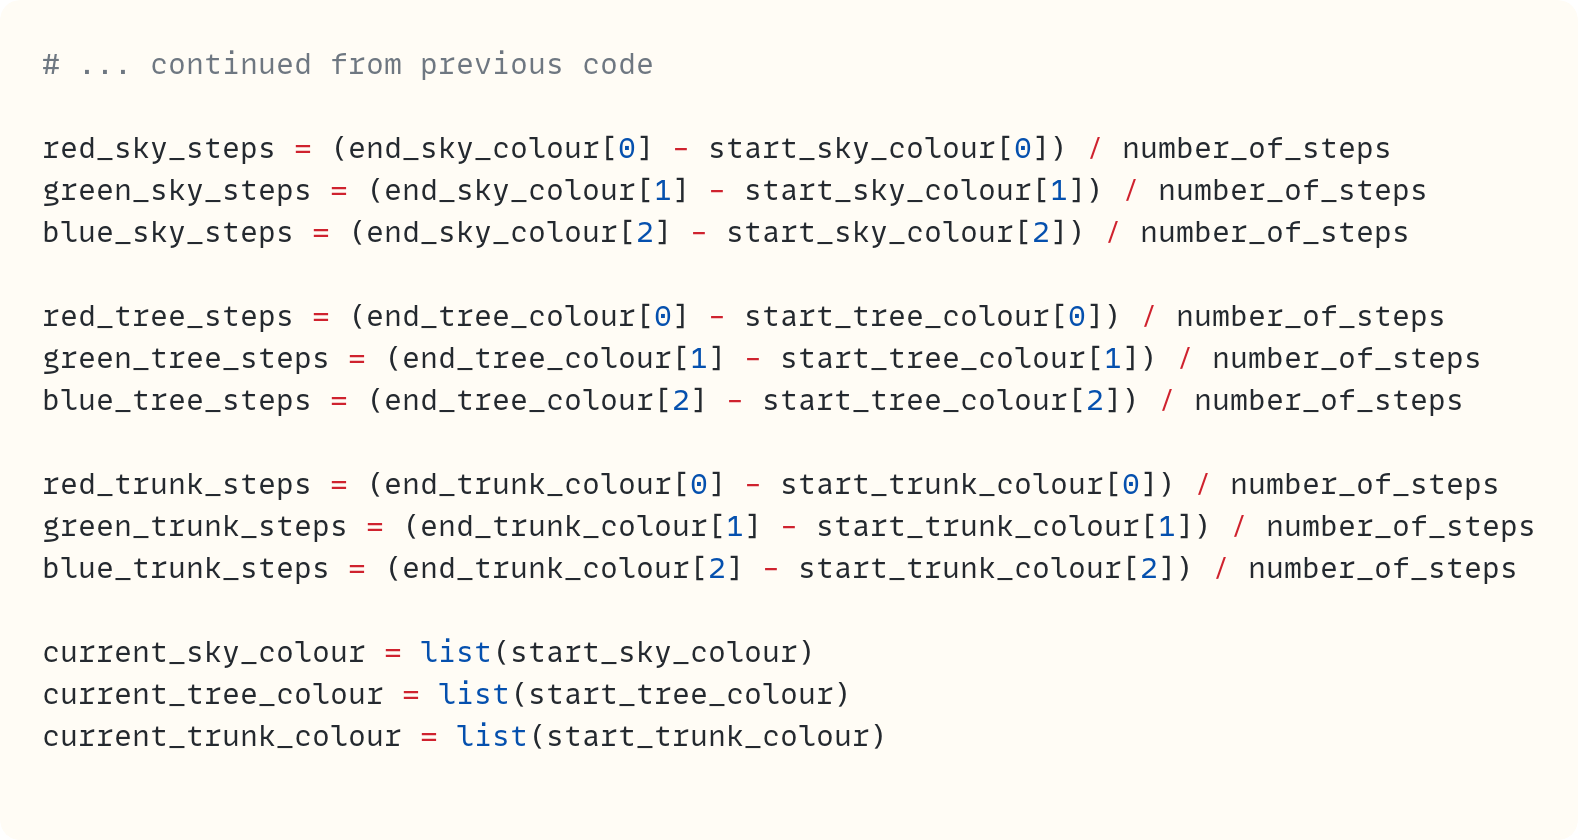
Note how there's a lot of repetition. And we don't like repetition in coding. We'll focus on the DRY principle–Don't Repeat Yourself–in the next stage.
Next, you can use your artistic skills to draw the tree and the trunk. Make sure you have a good way of redrawing them often since you'll need to redraw them using different colours. Here's my version:

Finally, you can create the loop that runs the animation. Let's start with the sky:
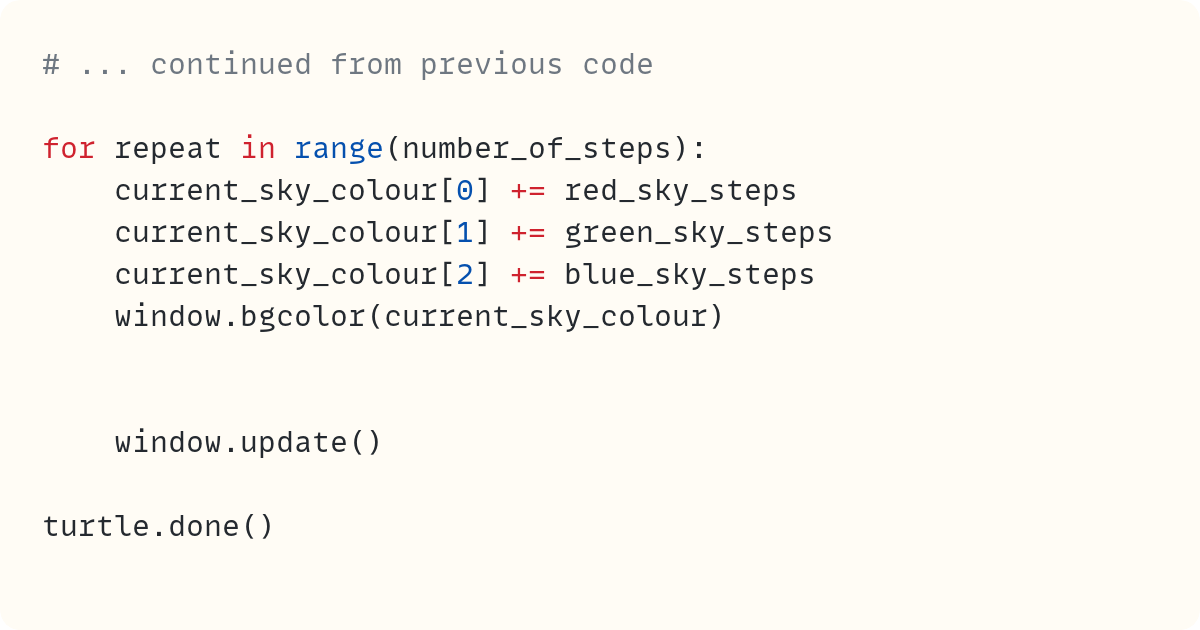
Here's the animation so far:
And now you can add the colour changes for the tree and trunk, too:
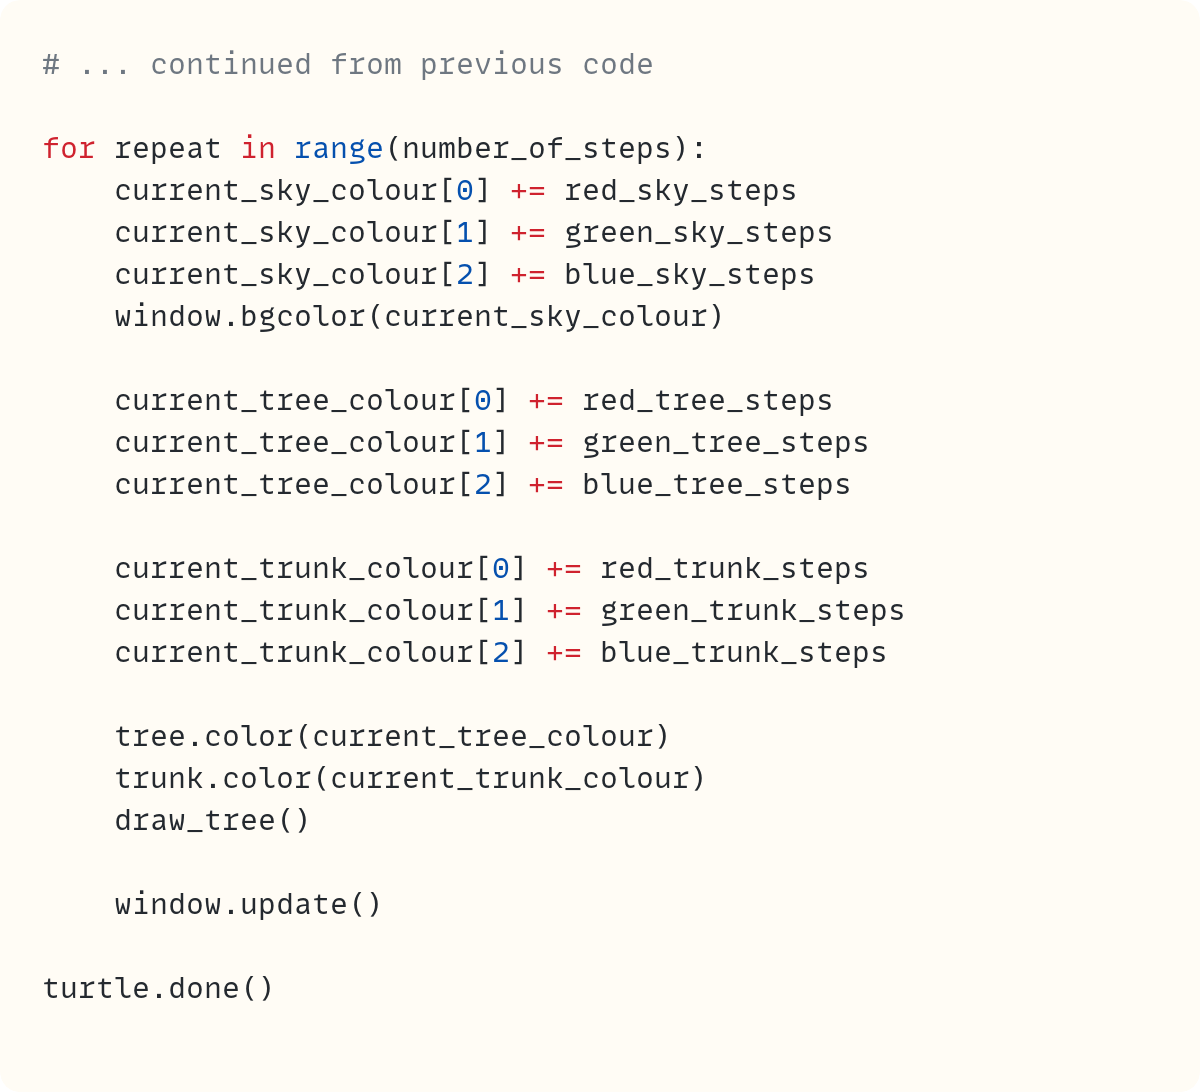
This works. Here's the animation:
But we can improve the code by removing the repetition.
Stage 4
DRY - Don't Repeat Yourself
There are two parts of the code that you had to repeat for each colour. Imagine how much more repetitive it would be for a drawing that's more complex and has more than three colours!
Look at the code you had to repeat. You perform the same calculations but with different inputs. And this gives different outputs. Therefore, you need code you can reuse with different input values. You can define functions to achieve this.
You need two functions:
calculate_step_change()to calculate the step size needed for the red, green, and blue components of any colourchange_colour()to make a small change to a colour using the step sizes you calculated
Let's start with the first of these functions:

And next, we can extract the repetition from changing the colours by small amounts:
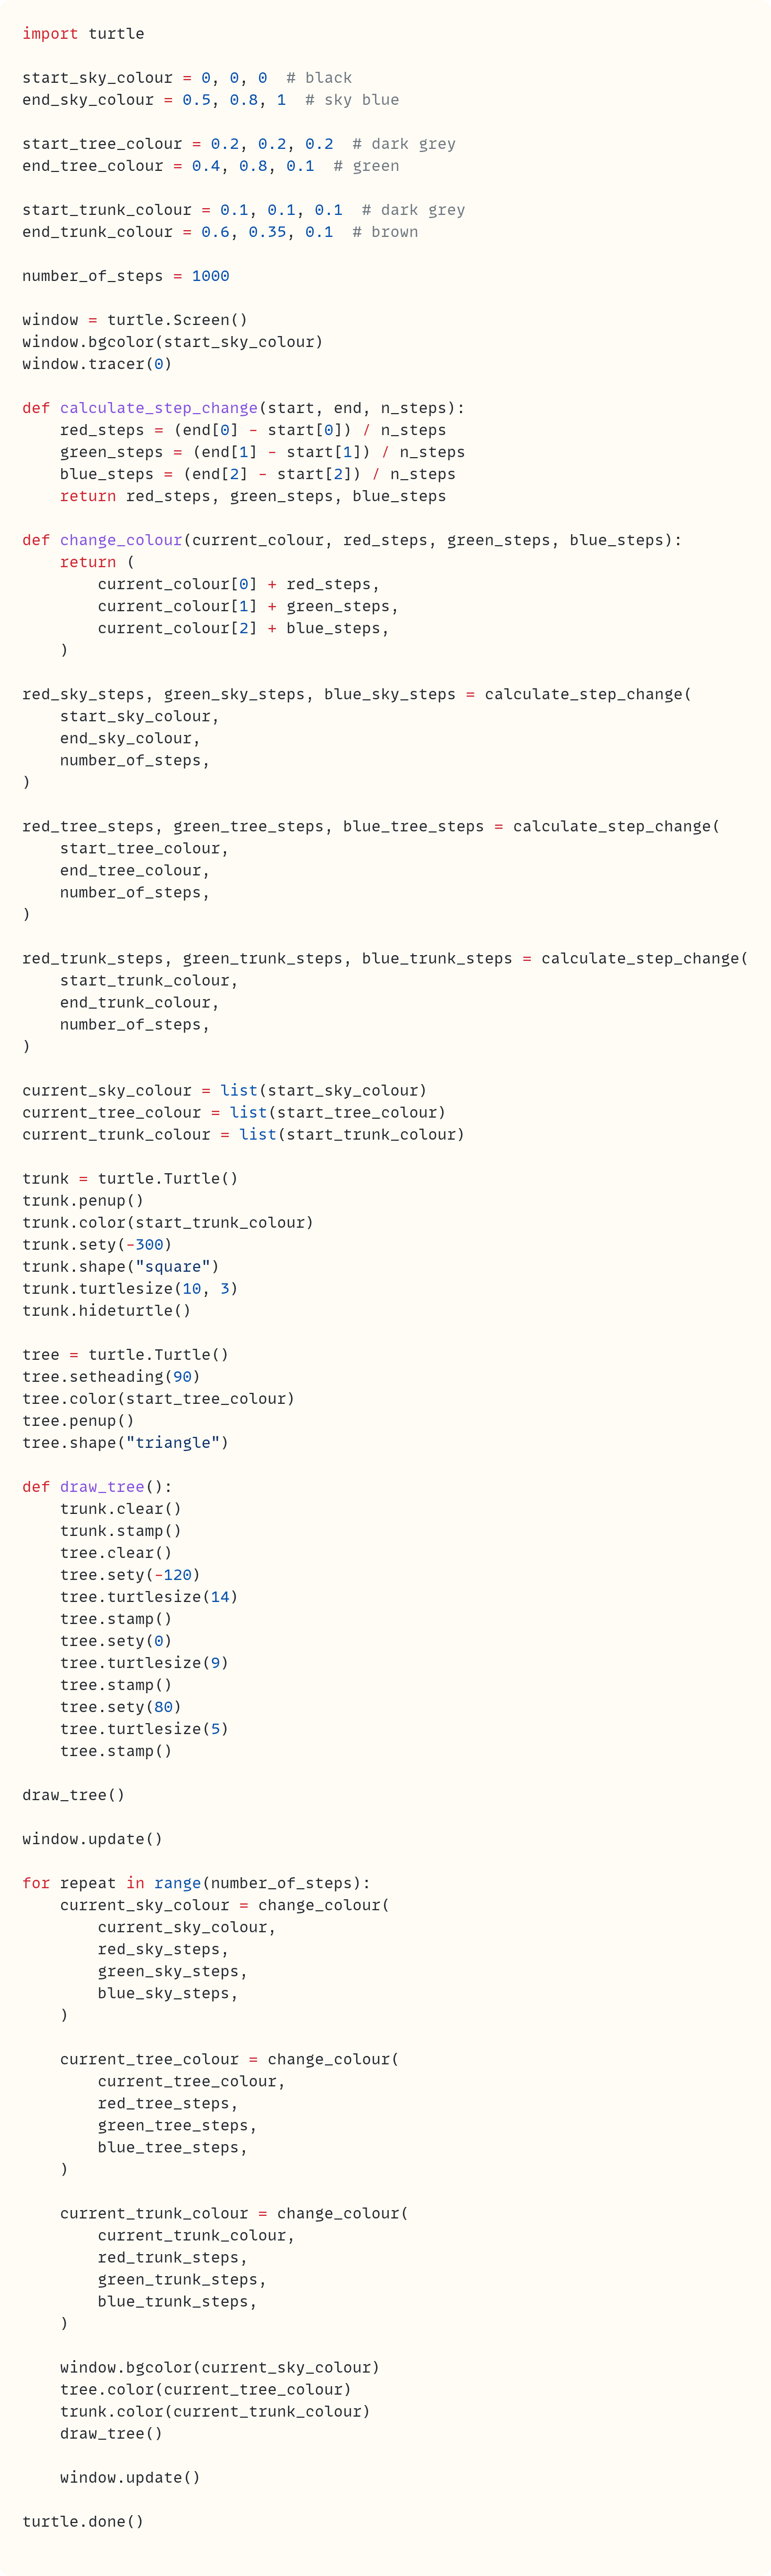
The code may not be shorter than it was before. But the actions of calculating the steps needed and the new colours are now in functions that you wrote once. If you need to make a change to these functions, you only need to do this in one place. And it's easier to resuse these functions as many times as you need them.
Code in this article uses Python 3.12
Note: There's also a companion article How I Teach "From Night to Day • Gradual Colour Changes Using Python's turtle“. This is a useful resource for anyone considering using this project in a teaching environment.
Appendix: Code Blocks
Code Block #1
import turtle
fred = turtle.Turtle()
fred.color("green")
fred.dot(200)
turtle.done()Code Block #2
import time
import turtle
fred = turtle.Turtle()
fred.color("green")
fred.dot(200)
time.sleep(2)
fred.color("purple")
fred.dot(200)
turtle.done()Code Block #3
import time
import turtle
fred = turtle.Turtle()
fred.color(0.3, 0.8, 0.2)
fred.dot(200)
time.sleep(2)
fred.color(0.7, 0.4, 1)
fred.dot(200)
turtle.done()Code Block #4
import turtle
start_colour = 0.3, 0.8, 0.2 # green
end_colour = 0.7, 0.4, 1 # purple
number_of_steps = 30
red_steps = (end_colour[0] - start_colour[0]) / number_of_steps
green_steps = (end_colour[1] - start_colour[1]) / number_of_steps
blue_steps = (end_colour[2] - start_colour[2]) / number_of_steps
fred = turtle.Turtle()
# Create a copy of 'start_colour' as a list and
# make it the current colour
current_colour = list(start_colour)
fred.color(current_colour)
fred.dot(200)
for repeat in range(number_of_steps):
# Add the step size to each of the
# red, green, and blue parts of the colour
current_colour[0] += red_steps
current_colour[1] += green_steps
current_colour[2] += blue_steps
fred.color(current_colour)
fred.dot(200)
turtle.done()Code Block #5
red_steps = (end_colour[0] - start_colour[0]) / number_of_stepsCode Block #6
import turtle
start_colour = 0.3, 0.8, 0.2 # green
end_colour = 0.7, 0.4, 1 # purple
number_of_steps = 300
window = turtle.Screen()
window.tracer(0)
red_steps = (end_colour[0] - start_colour[0]) / number_of_steps
green_steps = (end_colour[1] - start_colour[1]) / number_of_steps
blue_steps = (end_colour[2] - start_colour[2]) / number_of_steps
fred = turtle.Turtle()
# Create a copy of 'start_colour' as a list and
# make it the current colour
current_colour = list(start_colour)
fred.color(current_colour)
fred.dot(200)
for repeat in range(number_of_steps):
# Add the step size to each of the
# red, green, and blue parts of the colour
current_colour[0] += red_steps
current_colour[1] += green_steps
current_colour[2] += blue_steps
fred.color(current_colour)
fred.clear()
fred.dot(200)
window.update()
turtle.done()Code Block #7
import turtle
start_sky_colour = 0, 0, 0 # black
end_sky_colour = 0.5, 0.8, 1 # sky blue
start_tree_colour = 0.2, 0.2, 0.2 # dark grey
end_tree_colour = 0.4, 0.8, 0.1 # green
start_trunk_colour = 0.1, 0.1, 0.1 # dark grey
end_trunk_colour = 0.6, 0.35, 0.1 # brown
number_of_steps = 1000
window = turtle.Screen()
window.bgcolor(start_sky_colour)
window.tracer(0)Code Block #8
# ... continued from previous code
red_sky_steps = (end_sky_colour[0] - start_sky_colour[0]) / number_of_steps
green_sky_steps = (end_sky_colour[1] - start_sky_colour[1]) / number_of_steps
blue_sky_steps = (end_sky_colour[2] - start_sky_colour[2]) / number_of_steps
red_tree_steps = (end_tree_colour[0] - start_tree_colour[0]) / number_of_steps
green_tree_steps = (end_tree_colour[1] - start_tree_colour[1]) / number_of_steps
blue_tree_steps = (end_tree_colour[2] - start_tree_colour[2]) / number_of_steps
red_trunk_steps = (end_trunk_colour[0] - start_trunk_colour[0]) / number_of_steps
green_trunk_steps = (end_trunk_colour[1] - start_trunk_colour[1]) / number_of_steps
blue_trunk_steps = (end_trunk_colour[2] - start_trunk_colour[2]) / number_of_steps
current_sky_colour = list(start_sky_colour)
current_tree_colour = list(start_tree_colour)
current_trunk_colour = list(start_trunk_colour)Code Block #9
# ... continued from previous code

trunk = turtle.Turtle()
trunk.penup()
trunk.color(start_trunk_colour)
trunk.sety(-300)
trunk.shape("square")
trunk.turtlesize(10, 3)
trunk.hideturtle()

tree = turtle.Turtle()
tree.setheading(90)
tree.color(start_tree_colour)
tree.penup()
tree.shape("triangle")

def draw_tree():
    trunk.clear()
    trunk.stamp()
    tree.clear()
    tree.sety(-120)
    tree.turtlesize(14)
    tree.stamp()
    tree.sety(0)
    tree.turtlesize(9)
    tree.stamp()
    tree.sety(80)
    tree.turtlesize(5)
    tree.stamp()

draw_tree()

window.update()

# Also add turtle.done(),
# but make sure you always keep this at the
# end of your code
Code Block #10
# ... continued from previous code

for repeat in range(number_of_steps):
    current_sky_colour[0] += red_sky_steps
    current_sky_colour[1] += green_sky_steps
    current_sky_colour[2] += blue_sky_steps
    window.bgcolor(current_sky_colour)


    window.update()

turtle.done()
Code Block #11
# ... continued from previous code

for repeat in range(number_of_steps):
    current_sky_colour[0] += red_sky_steps
    current_sky_colour[1] += green_sky_steps
    current_sky_colour[2] += blue_sky_steps
    window.bgcolor(current_sky_colour)

    current_tree_colour[0] += red_tree_steps
    current_tree_colour[1] += green_tree_steps
    current_tree_colour[2] += blue_tree_steps

    current_trunk_colour[0] += red_trunk_steps
    current_trunk_colour[1] += green_trunk_steps
    current_trunk_colour[2] += blue_trunk_steps

    tree.color(current_tree_colour)
    trunk.color(current_trunk_colour)
    draw_tree()

    window.update()

turtle.done()
Code Block #12
import turtle

start_sky_colour = 0, 0, 0  # black
end_sky_colour = 0.5, 0.8, 1  # sky blue

start_tree_colour = 0.2, 0.2, 0.2  # dark grey
end_tree_colour = 0.4, 0.8, 0.1  # green

start_trunk_colour = 0.1, 0.1, 0.1  # dark grey
end_trunk_colour = 0.6, 0.35, 0.1  # brown

number_of_steps = 1000

window = turtle.Screen()
window.bgcolor(start_sky_colour)
window.tracer(0)

def calculate_step_change(start, end, n_steps):
    red_steps = (end[0] - start[0]) / n_steps
    green_steps = (end[1] - start[1]) / n_steps
    blue_steps = (end[2] - start[2]) / n_steps
    return red_steps, green_steps, blue_steps

red_sky_steps, green_sky_steps, blue_sky_steps = calculate_step_change(
    start_sky_colour,
    end_sky_colour,
    number_of_steps,
)

red_tree_steps, green_tree_steps, blue_tree_steps = calculate_step_change(
    start_tree_colour,
    end_tree_colour,
    number_of_steps,
)

red_trunk_steps, green_trunk_steps, blue_trunk_steps = calculate_step_change(
    start_trunk_colour,
    end_trunk_colour,
    number_of_steps,
)

current_sky_colour = list(start_sky_colour)
current_tree_colour = list(start_tree_colour)
current_trunk_colour = list(start_trunk_colour)
Code Block #13
import turtle
start_sky_colour = 0, 0, 0 # black
end_sky_colour = 0.5, 0.8, 1 # sky blue
start_tree_colour = 0.2, 0.2, 0.2 # dark grey
end_tree_colour = 0.4, 0.8, 0.1 # green
start_trunk_colour = 0.1, 0.1, 0.1 # dark grey
end_trunk_colour = 0.6, 0.35, 0.1 # brown
number_of_steps = 1000
window = turtle.Screen()
window.bgcolor(start_sky_colour)
window.tracer(0)
def calculate_step_change(start, end, n_steps):
red_steps = (end[0] - start[0]) / n_steps
green_steps = (end[1] - start[1]) / n_steps
blue_steps = (end[2] - start[2]) / n_steps
return red_steps, green_steps, blue_steps
def change_colour(current_colour, red_steps, green_steps, blue_steps):
return (
current_colour[0] + red_steps,
current_colour[1] + green_steps,
current_colour[2] + blue_steps,
)
red_sky_steps, green_sky_steps, blue_sky_steps = calculate_step_change(
start_sky_colour,
end_sky_colour,
number_of_steps,
)
red_tree_steps, green_tree_steps, blue_tree_steps = calculate_step_change(
start_tree_colour,
end_tree_colour,
number_of_steps,
)
red_trunk_steps, green_trunk_steps, blue_trunk_steps = calculate_step_change(
start_trunk_colour,
end_trunk_colour,
number_of_steps,
)
current_sky_colour = list(start_sky_colour)
current_tree_colour = list(start_tree_colour)
current_trunk_colour = list(start_trunk_colour)
trunk = turtle.Turtle()
trunk.penup()
trunk.color(start_trunk_colour)
trunk.sety(-300)
trunk.shape("square")
trunk.turtlesize(10, 3)
trunk.hideturtle()
tree = turtle.Turtle()
tree.setheading(90)
tree.color(start_tree_colour)
tree.penup()
tree.shape("triangle")
def draw_tree():
trunk.clear()
trunk.stamp()
tree.clear()
tree.sety(-120)
tree.turtlesize(14)
tree.stamp()
tree.sety(0)
tree.turtlesize(9)
tree.stamp()
tree.sety(80)
tree.turtlesize(5)
tree.stamp()
draw_tree()
window.update()
for repeat in range(number_of_steps):
current_sky_colour = change_colour(
current_sky_colour,
red_sky_steps,
green_sky_steps,
blue_sky_steps,
)
current_tree_colour = change_colour(
current_tree_colour,
red_tree_steps,
green_tree_steps,
blue_tree_steps,
)
current_trunk_colour = change_colour(
current_trunk_colour,
red_trunk_steps,
green_trunk_steps,
blue_trunk_steps,
)
window.bgcolor(current_sky_colour)
tree.color(current_tree_colour)
trunk.color(current_trunk_colour)
draw_tree()
window.update()
turtle.done()
too long took me 5 hours